
- Free guide
- Ages 10+
How to Read a Tape Measure

Guided by Squarey · written by Shaun
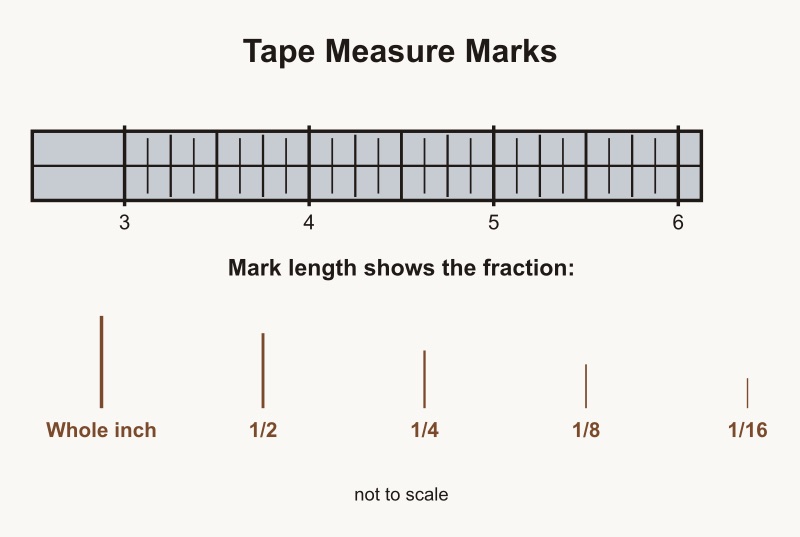
A tape measure looks simple, but those tiny marks pack a lot of information. Once your builder can read them with confidence, almost every other project gets easier — cutting boards to length, spacing screws, or just double-checking a plan. This guide breaks the marks down one at a time, with a short practice activity at the end.
Why this matters
Carpenters have a saying: measure twice, cut once. But that only works if you can read the tape correctly the first time. A mix-up between 1/4 inch and 3/8 inch can mean a board that's too short to use. Learning to read a tape measure is one of the first real shop skills, and it's one your builder will use on every project after this one.
Safety first
A tape measure isn't a power tool, but it still deserves respect.
- The metal hook on the end is sharp at the edges — keep fingers away from the point where it slides.
- The blade can snap back fast when it retracts. Let it retract slowly, or guide it in with a thumb, instead of letting go all at once.
- Never swing a tape measure around — the hook can nick skin or furniture.
What you'll need
- A standard tape measure (16 ft or 25 ft is plenty for most projects)
- A pencil and scrap paper, or the practice worksheet below
- A scrap board or two for practice measuring
The parts of the tape
Before reading the marks, your builder should know the tool itself:
- The hook on the end is designed to wiggle a little — that's not broken! It moves in slightly when you push against something, and out slightly when you hook onto an edge. Both ways give you an accurate reading.
- The blade is the long metal ribbon with all the markings.
- The case holds the coiled blade and usually has the tape's length printed on it.
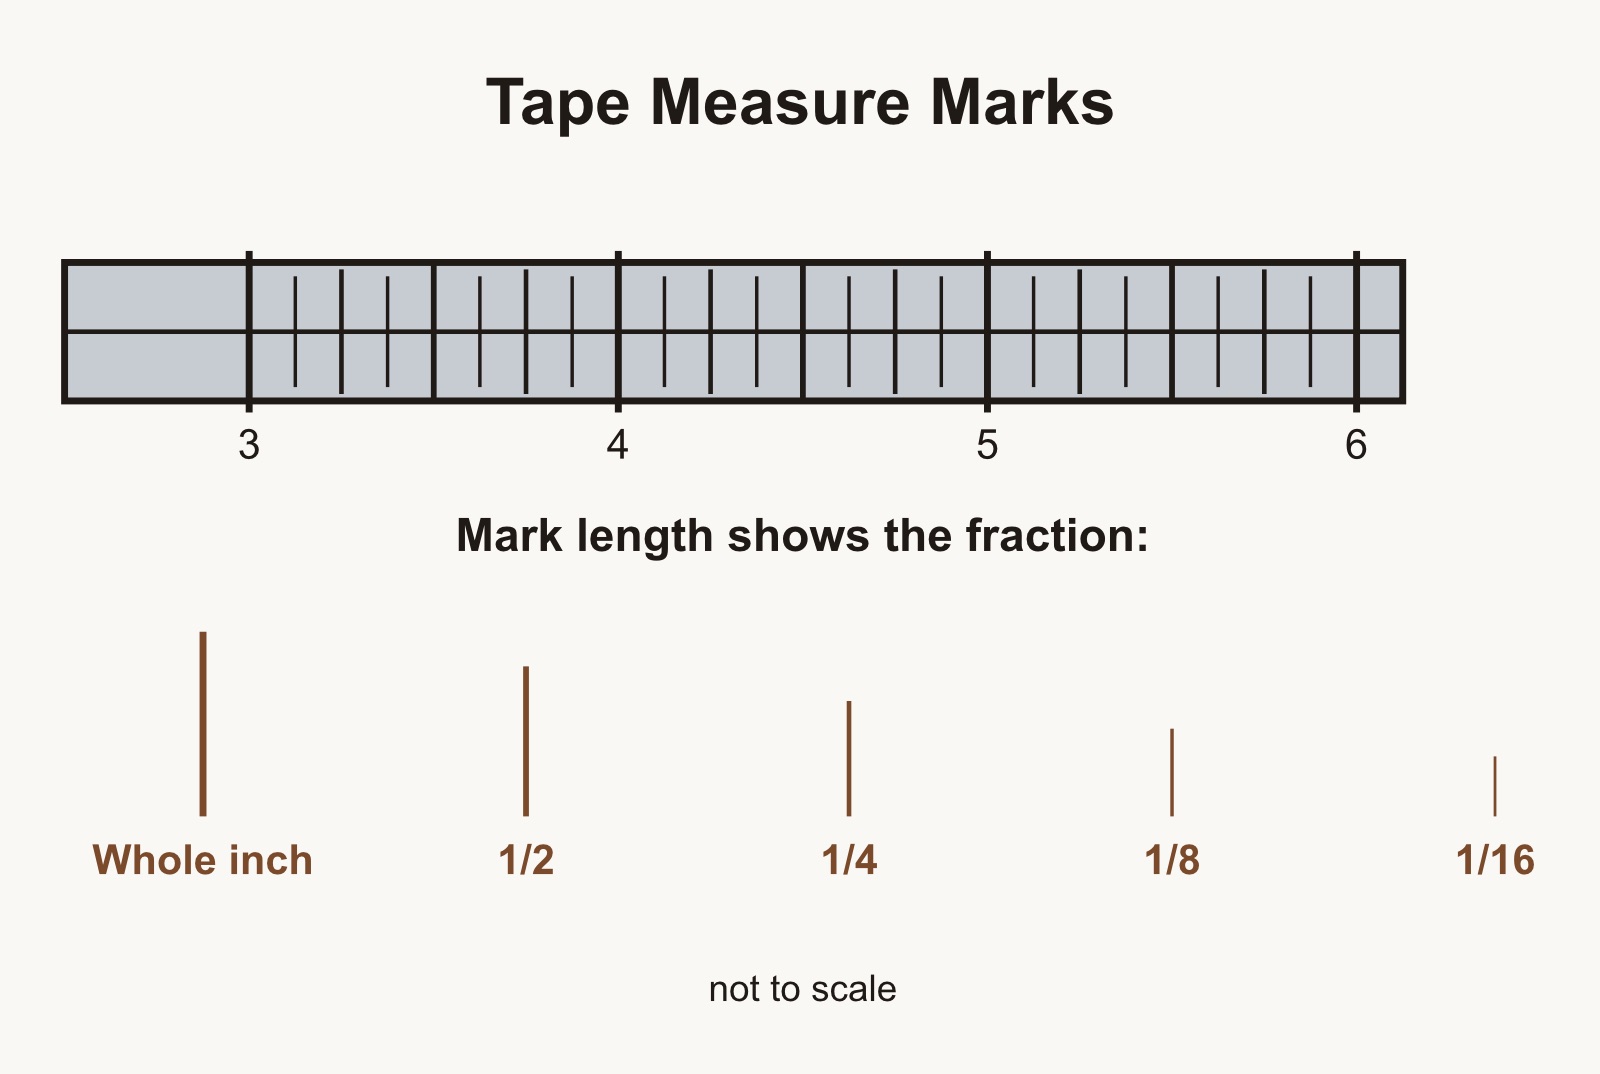
Each fraction of an inch gets its own mark length — longer marks for bigger fractions, shorter for smaller ones.
Reading the marks, step by step
Most tape measures break each inch down into smaller and smaller fractions. The marks get shorter as the fractions get smaller, which makes them easy to tell apart once you know the pattern.
| Mark length | Fraction of an inch | What it looks like |
|---|---|---|
| Longest | Whole inch | Usually numbered (1, 2, 3...) |
| Long | 1/2 inch | Halfway between numbers |
| Medium | 1/4 inch | Halfway between the halves |
| Short | 1/8 inch | Halfway between the quarters |
| Shortest | 1/16 inch | Smallest marks, tightest together |
Some tapes also mark every foot in red, and some have a small diamond mark every 19.2 inches (used for spacing wall studs) — your builder doesn't need those yet, but it's good to know they're there.
- Find the whole inch. Look for the longest marks and the printed numbers. Count up to the nearest whole inch below where you're measuring.
- Find the half. If the mark lands past the inch number but before the next one, check the next-longest mark — that's the 1/2 inch point.
- Narrow it down to quarters. Between the inch and the half, there's a medium-length mark at 1/4 inch and another at 3/4 inch.
- Check the eighths. Shorter marks sit between every quarter mark — these are 1/8 inch, 3/8 inch, 5/8 inch, and 7/8 inch.
- Read the sixteenths if needed. The shortest, closest-together marks split the eighths in half again. Most shop projects for kids don't need anything finer than this.
- Say the full measurement out loud. For example: "three and five-eighths inches." Saying it helps it stick.
Measuring a board the right way
- Hook the tape on the edge. Catch the metal hook on the end of the board, keeping the blade flat and straight.
- Pull the blade out straight. Avoid letting it sag or twist — a sagging tape gives a longer, wrong reading.
- Read at the mark you need, not where your thumb is. Line up your eye directly above the mark.
- Mark the board with a small "V" or a single pencil line, not a thick dot, so the exact spot is clear for cutting.
- Let an adult help square up the cut line with a speed square before cutting, so the cut stays straight.
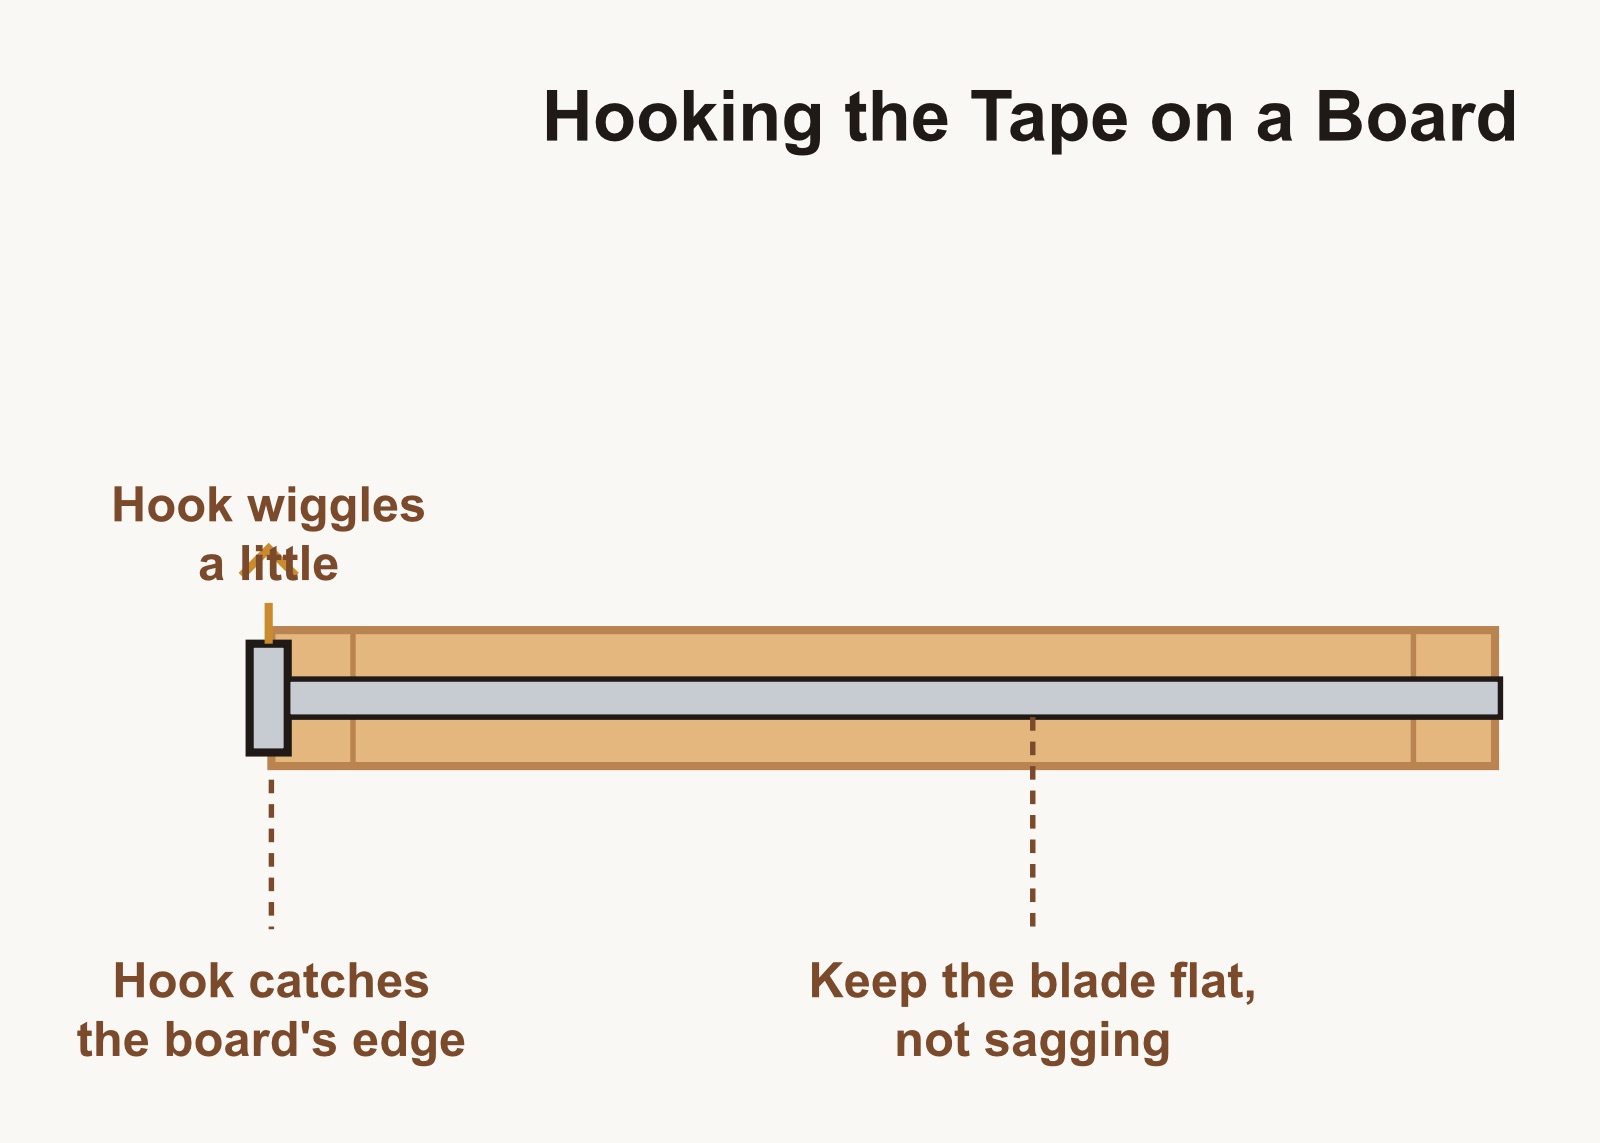
Hook the metal end on the board's edge and keep the blade flat for an accurate measurement.
Common mistakes and how to fix them
| Mistake | Why it happens | How to fix it |
|---|---|---|
| Reading the wrong inch mark | Losing track while counting fractions | Always find the nearest whole inch first, then count fractions from there |
| Tape sags or twists | Pulling it out too far without support | Rest the tape on the board, or have a helper hold the far end |
| Reading at an angle | Eye isn't directly above the mark | Look straight down at the mark, not from the side |
| Confusing 1/4 and 3/8 | Marks are close together and similar length | Count marks from the nearest 1/2 inch instead of guessing |
| Marking with a thick dot | Hard to know exactly where the real spot is | Use a thin "V" mark or a single fine pencil line |
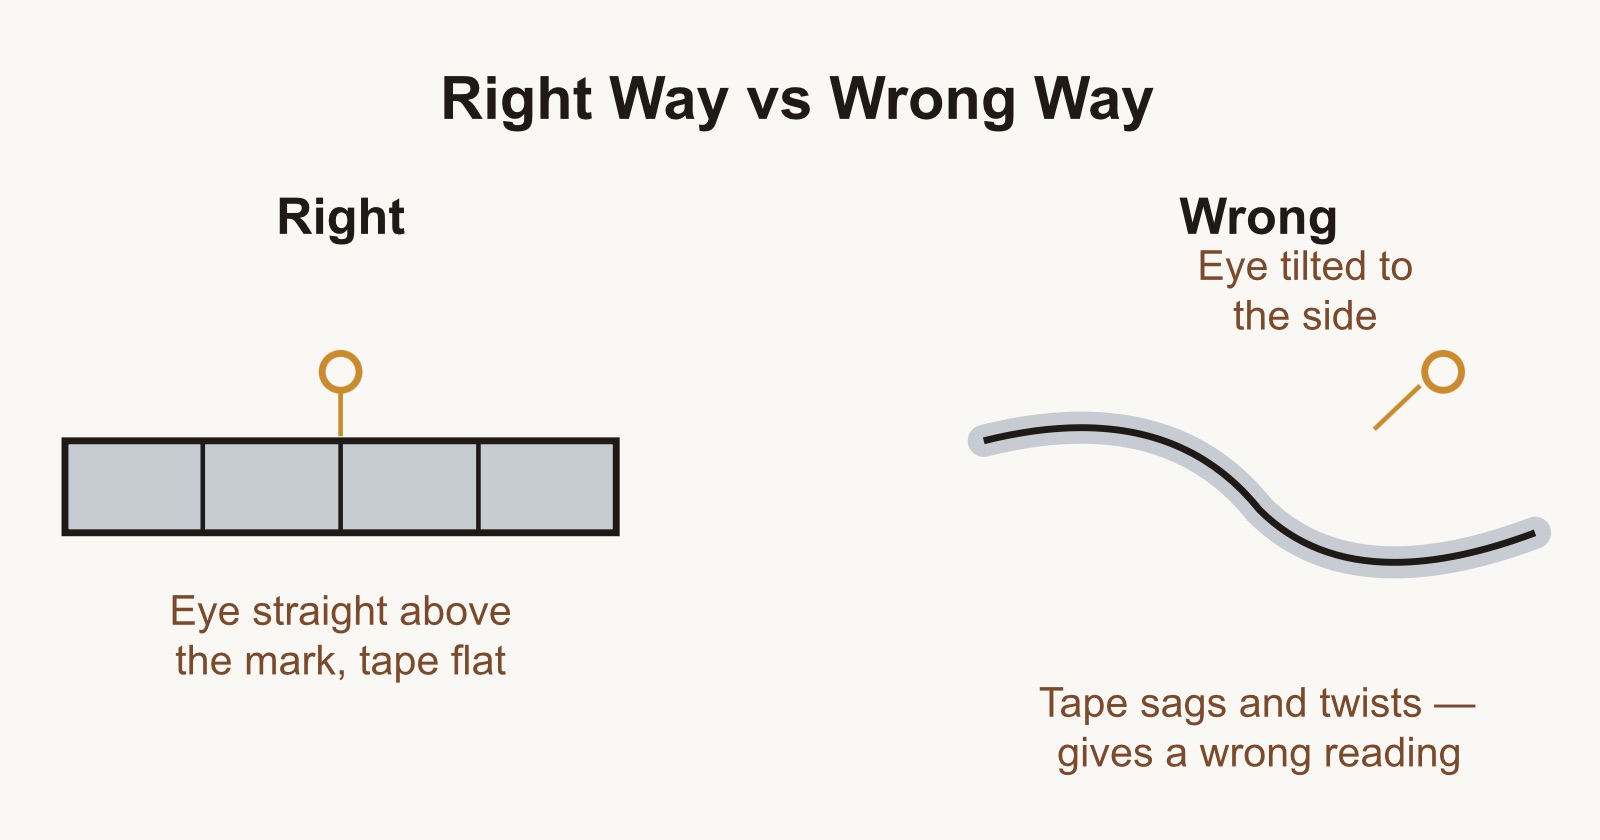
Keep the tape flat and read straight down at the mark — a sagging tape or a tilted eye can throw off the reading.
Practice worksheet: Find the fraction
This quick activity builds confidence before your builder measures a real project.
- On scrap paper, draw 8 blank lines in a column, numbered 1–8.
- Lay a scrap board on the table and, for each line, measure a different point along the board — some at whole inches, some at halves, quarters, eighths.
- Have your builder call out and write down each measurement before you check it together.
- Swap roles: let your builder pick the spots and you call out the guess, so they get to check your work too. (It's good practice for them to catch a mistake!)
- For an extra challenge, measure the same board twice — once hooking the tape over the end, once butting the tape against the end — and compare. They should match. That's the hook wiggle doing its job.
Wrap-up
Reading a tape measure takes practice, and nobody gets every fraction right on the first try. What matters is the habit: find the whole inch, count the fractions, say it out loud, and check twice before cutting. Every project your builder measures from here gets a little steadier — crooked reads and all, that steady improvement is exactly what we're proud of.
Bench checklist
- Tape measure with clear, undamaged markings
- Pencil and scrap paper for practice
- A scrap board to measure
- An adult nearby to square up and help with the first real cuts
Reviews & build photos
No reviews yet. Built this one? Be the first to share how it went!
Write a review
Thank you! Your review of How to Read a Tape Measure will appear after a quick check.
Found a mistake or have an idea for this guide?Tell us — we fix and improve plans based on your feedback.
Want to know when new designs and guides come out?
Join our mailing list for new plans, free guides and project ideas. For parents and teachers. No spam, unsubscribe anytime.